Share us to get more discount.


 My Orders
 Message
 My Coupons
 Cart
Cart Favorate
 Customer Support
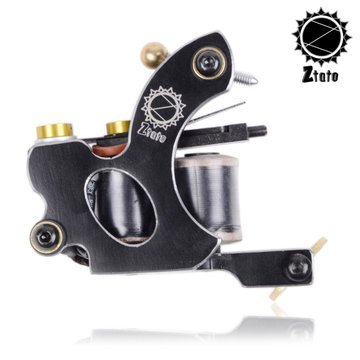
 See all product images


-
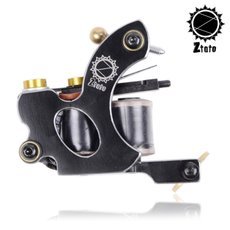
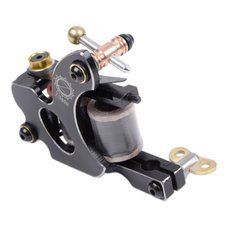
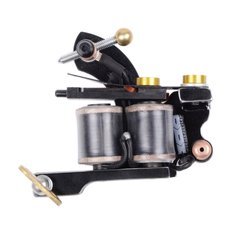
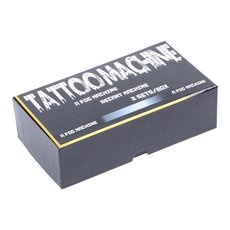
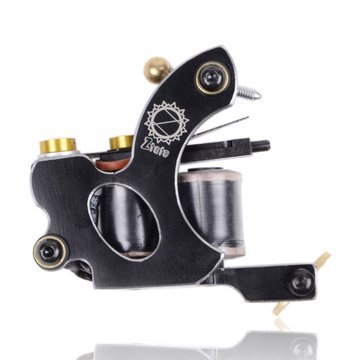
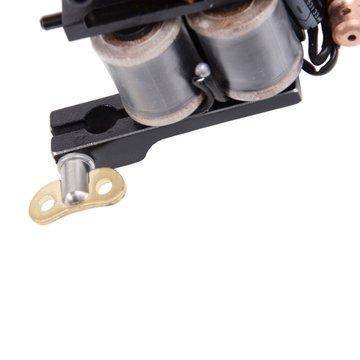
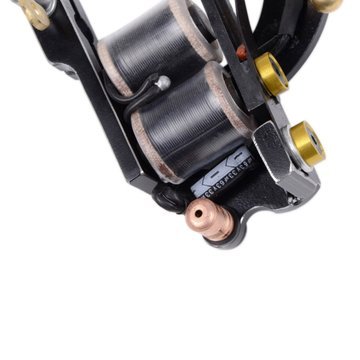
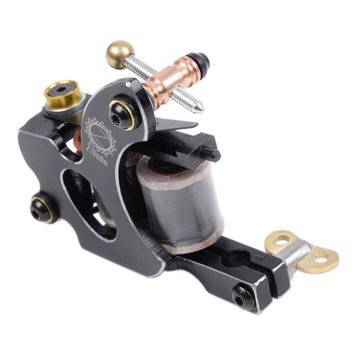
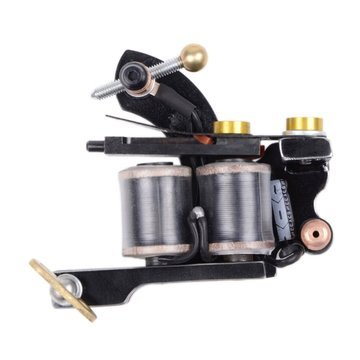
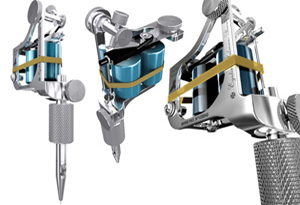
ZTATO 10-Wrap Coil Handmade Iron Oval Hollow Frame Professional Shader Tattoo Machine Black
-
SKU:
10014154
- Our Price :
US $ 57.05
- Quantity:
- Add To Cart
- Shop at fodmart with

-
Check out with
Shop at fodmart
-


Scan QR code,add to you Cart.
Need Use Fodpay APP to Scan. -

- Product Details
-
The ZTATO 10-Wrap Coil Handmade Iron Oval Hollow Frame Professional Shader Tattoo Machine is a handmade, lightweight shader tattoo machine with a new oval hollow frame, definitely your ideal choice! With special design, it delivers maximum needle control for super soft shading. 10-wrap coils are robust and resistant to wear. Made from high-grade iron, it is reliable and durable for long-lasting use. And the machine comes with full accessories for your convenience. Don’t hesitate to get one! It surely is worth your investment!
Features
- Hand-crafted, fine workmanship
- Built with a lightweight oval hollow frame
- Deliver maximum needle control for super soft shading
- 10-wrap coils are robust and resistant to wear
- Made from high-grade iron, reliable and durable for long-lasting use
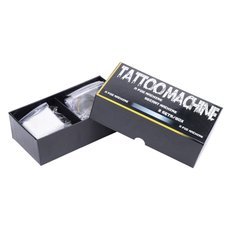
- Come with full accessories for your convenience
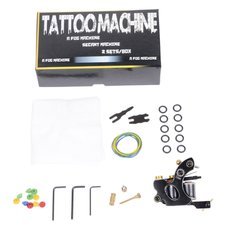
Specifications
Material Iron Binder Material Copper A-Bar Material Iron Contact Material Steel Purpose Recommended Shader Type Coil Tattoo Machine Construction Handmade Coils 10 Wraps Capacitor 33UF Working Voltage 63V Starting Voltage 3 - 5 V Optimum Voltage 5 - 8 V Running Speed 25000-30000 R / Minute Construction Wire-cutting Weight 7.87oz / 223g Color Black Dimensions (3.35 x 2.95 x 1.38)" / (8.5 x 7.5 x 3.5)cm (L x W x H) Package Includes
- 1 x Tattoo Machine
- 10 x Soft Rubber Grommets Nipples
- 10 x Natural Rubber Bands
- 10 x Shockproof Rubber O-rings
- 3 x Hexagonal Wrench
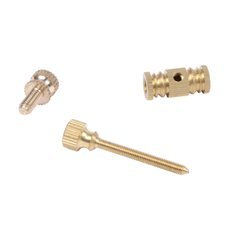
- 3 x Tattoo Machine Screw
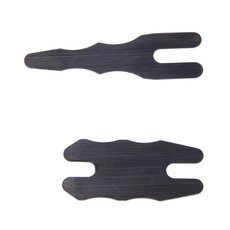
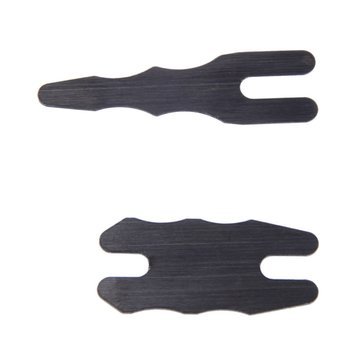
- 2 x Tattoo Machine Resilient Sheet
- 2 x Paper

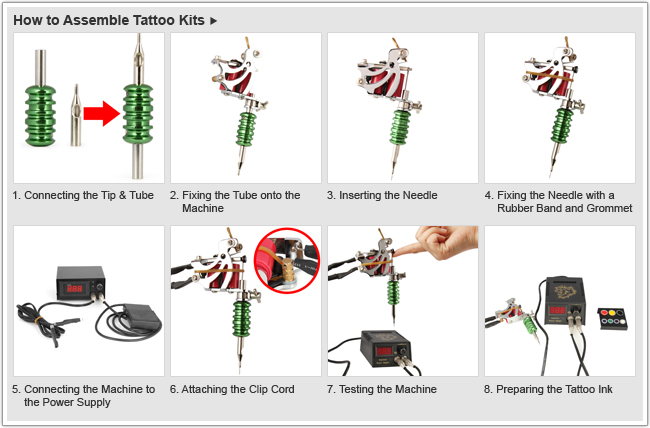
Debugging of tattoo machine:
- Step 1: Hold the tube with your left hand and the forefinger withstands the bottom of Host Frame and presses the location of Tube Clamp.
- Step 2: Connect the machine to AC power through inserting the clip cord into the jack of the tattoo machine.
- Step 3: Unscrew the Hex screw with the right thumb and forefinger until it is in loose condition.
- Step 4: Unscrew the Contact Screw with the right thumb and forefinger.At the same time, you should step on the Foot Pedal with your right foot to start up the tattoo machine.
- Step 5: When adjusting the Contact screw, please remember that your right fingers should stay still on the button until the tattoo machine produces operating sound with optimal speed.Meanwhile, the left thumb touches the Top Hat Grommet button underneath to feel the vibration.If your thumb experiences numbness and itching, it means that the tattoo machine is in the optimal working condition.
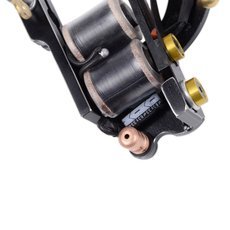
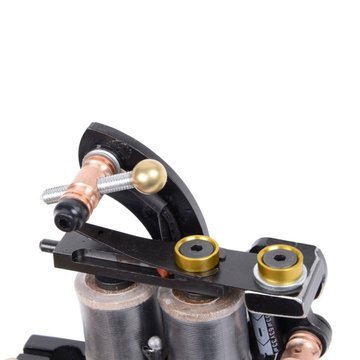
- Step 6: You should pay attention to the machine′s distance (the intervals between the armature bar and coils) when debugging the machine.That is, the distance should be maintained at least 2.5mm, so that the needle has enough flexible distance for the tube tip to stretch out to pierce the skin and to retract to the tube to soak the tattoo ink.
- Step 7: Under the optimal working condition, the tattoo machine would power off after your foot leaves the Foot Pedal.And then you should tighten the Hex Screw and lock the Contact Screw under the shutdown condition.
- If the sound and vigor would be perfect after finishing the no-load debugging of tattoo machine, you should firstly install the grip to screw up the screw slightly. Afterwards, it is time to install the needle.
- Please check whether the needle is in good condition or not. If so, place the T rubber band on the ring of needle bar, insert the tattoo needle into the tube from the top of the grip and then put the rubber band around the cylinder of the armature bar.
- Mount the tube and adjust the location of grip. Hold the tattoo machine with the left hand to press down the armature bar emphatically with your thumb to make contact with the iron surface of the coils. And then adjust the grip with your right hand to stick out about 1-1.5mm tip outside the tube.
- Place the rubber band about 8mm below the needle bar and band the needle bar and the machine body with the rubber band. Please pay attention to the moderate tightness. Loose rubber band would result in the breaking away of the needle. Inversely, it would affect the rotate speed. After those steps are done, the tattoo machine can start up to work.
- Why the machine cannot start?
- 1. The elastic rod does not touch the contact point of the inclined spring plate: Loosen the screw of elastic rod, rotate down the elastic rod to the contact point, and then regulate the rod to the right position. Finally tighten the screw to lock the elastic rod
- 2. The switch is off: Connect it to 220V AC power supply and turn on the switch. The indicator turns red
- 3. Both of adjustable knob (VOLTAGE) and V meter hand are in "0": Rotate the adjustable knob clockwise slowly. Simultaneously, V meter hand is also moving and should stop at 10V-12V
- 4. The elastic rod touches the contact point of front spring so tightly that the machine cannot start and maybe will cause short circuit. Turn on the switch and the indicator turns green (No voltage) : Loosen the screw of elastic rod, rotate up the elastic rod and then rotate it down to the contact point, and finally regulate it to the right position. Restart the power, the machine will be ok
- 5. Disconnection: Check the foot switch and the plug to avoid disconnecting the cord from the joint position caused by careless jerk
- 6. Broken wires: The wires be susceptible to damage while washing and sterilizing the tattoo machine, so please confirm the wires condition and have the broken ones welded before use
- 7. Problems of plugs and foot switch: Turn on the switch and check whether the plugs of cord and foot switch are broken or not, when short circuit happens (green indicator). The damaged ones should be welded with electric welding rod
You should reboot the tattoo machine to test its performance after finishing the seven steps above.The optimal working condition means finishing the debugging of the tattoo machine.The voltage is 9-12V during liner and 12-12V during coloring or shading with a professional voltage regulator.
Installation of tattoo machine: